

Shortcuts is a no-code app developed by Apple and provided on its iOS, iPadOS, macOS, and watchOS operating systems. It allows users to script actions and combine them into workflows.
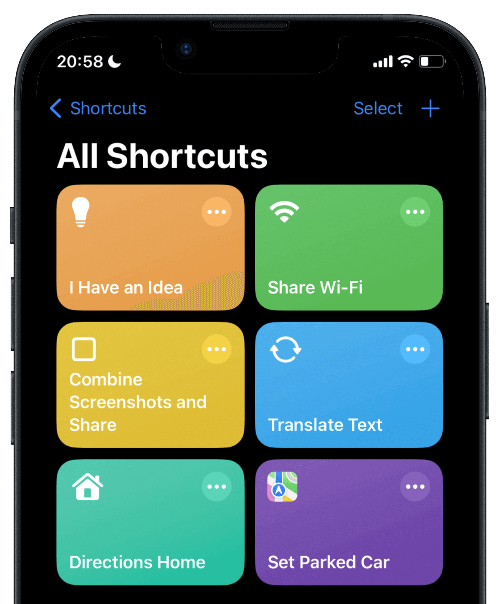 Example of automations you can create using Shortcuts
To bring your Shortcuts to the next level and allow more complex integrations, I will show you on this tutorial how to write data from your Shortcuts into a Google Sheets spreadsheet.
Architecture
For this setup, you’ll need an additional component: Google Forms. Google Forms will provide a URL, and when this URL is accessed with the correct parameters, it will automatically add a new response to the form, resulting in a new row in the spreadsheet.
The image below shows how the different components will be connected.
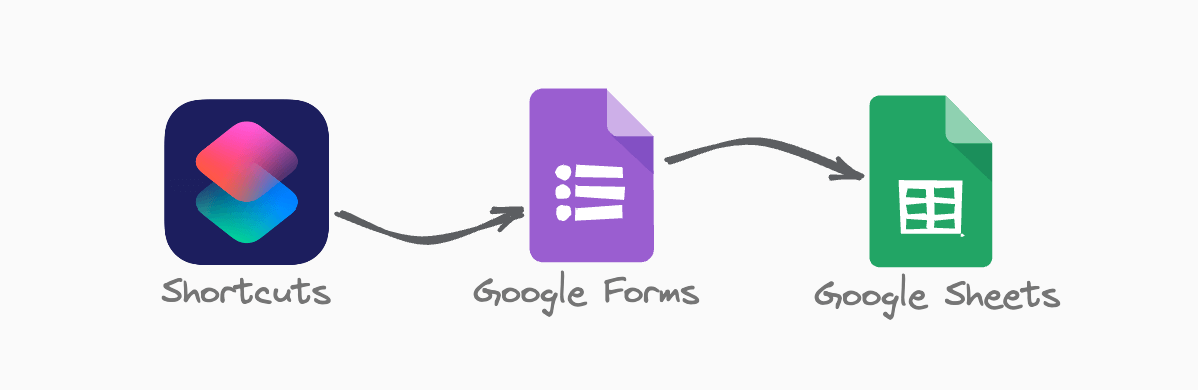 A diagram showing how the components are connected.
Implementation
1. Create a Google Form
To begin, we’ll create a new form on Google. Make sure you’re logged into your Google account. Then, to create a new form, visit the Google Forms webapp and click on Create new form at the bottom right corner.
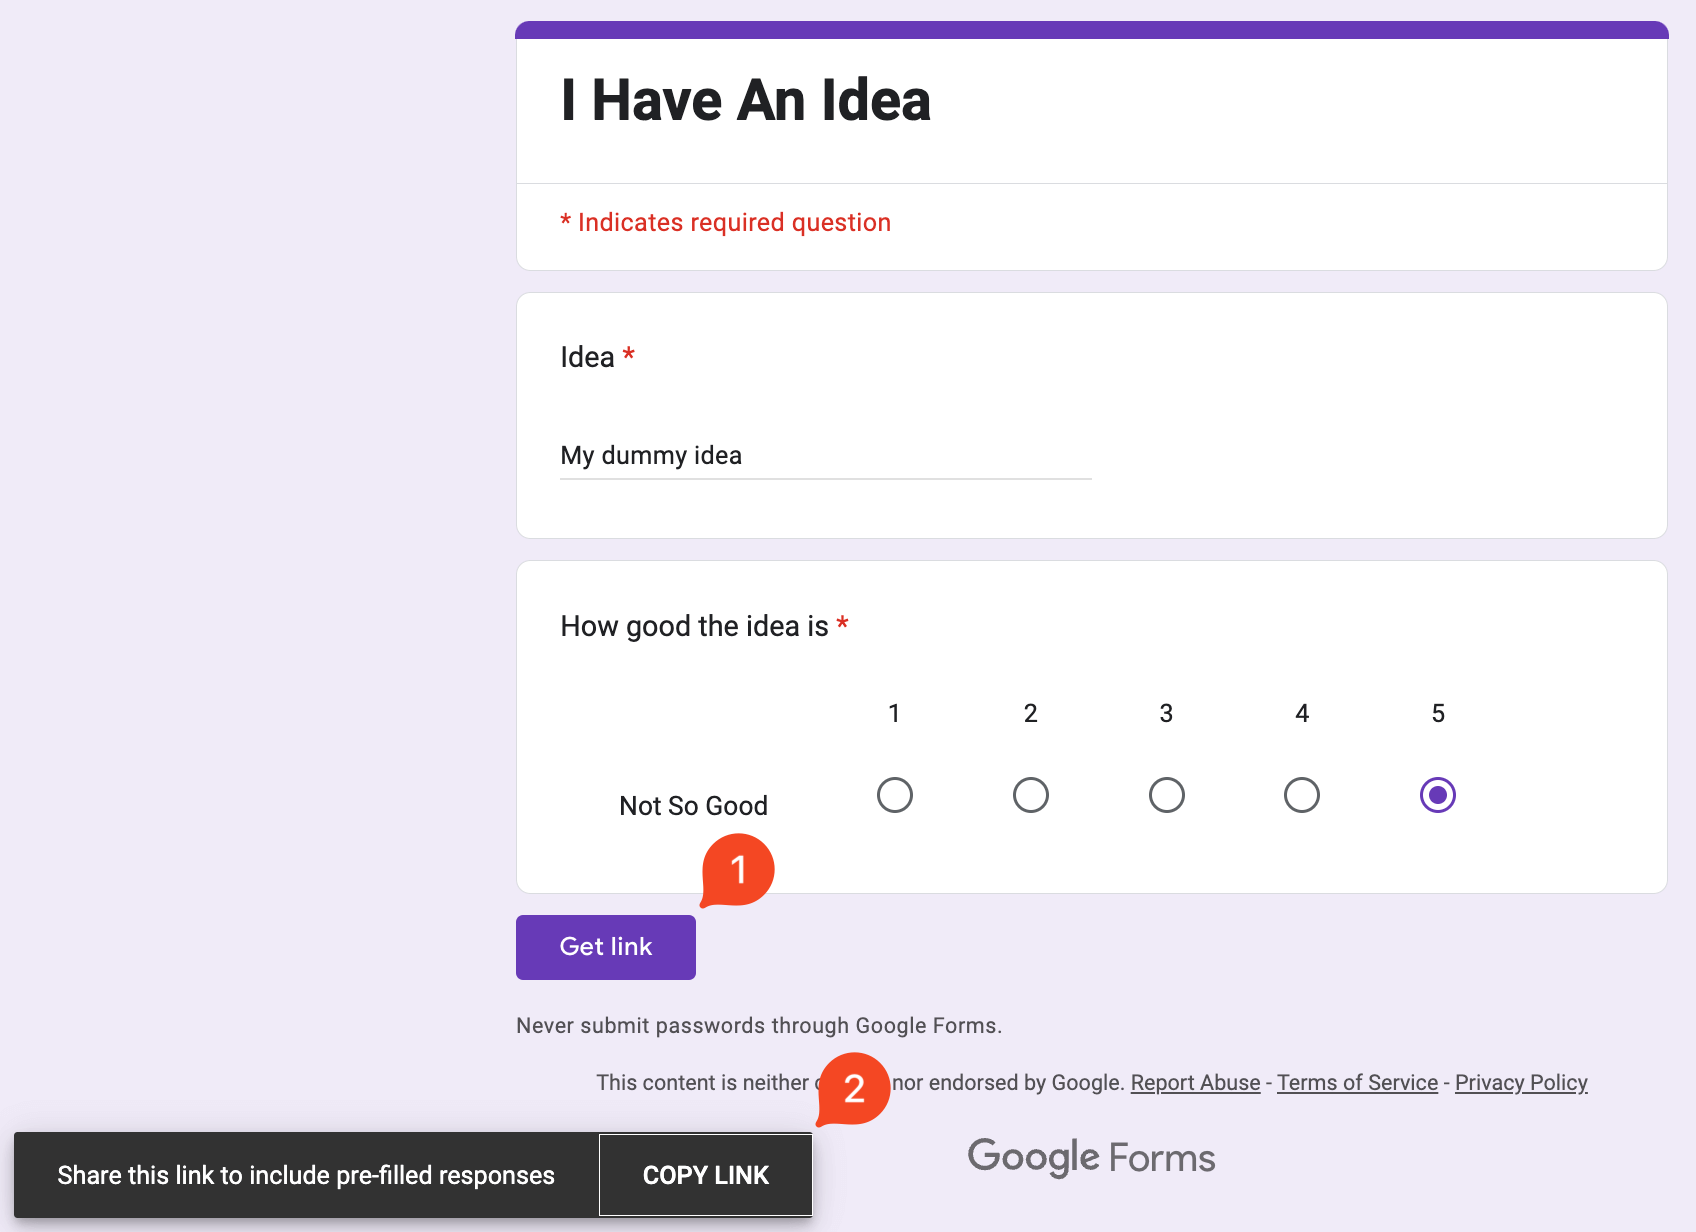
On the new form page, assign a name to your form and add the questions you want to populate from the shortcuts. Each question will correspond to a different column in the spreadsheet.
For this tutorial, I’ve created a form with two questions. The goal is to collect ideas and assign a score to each, allowing for easy sorting later on.
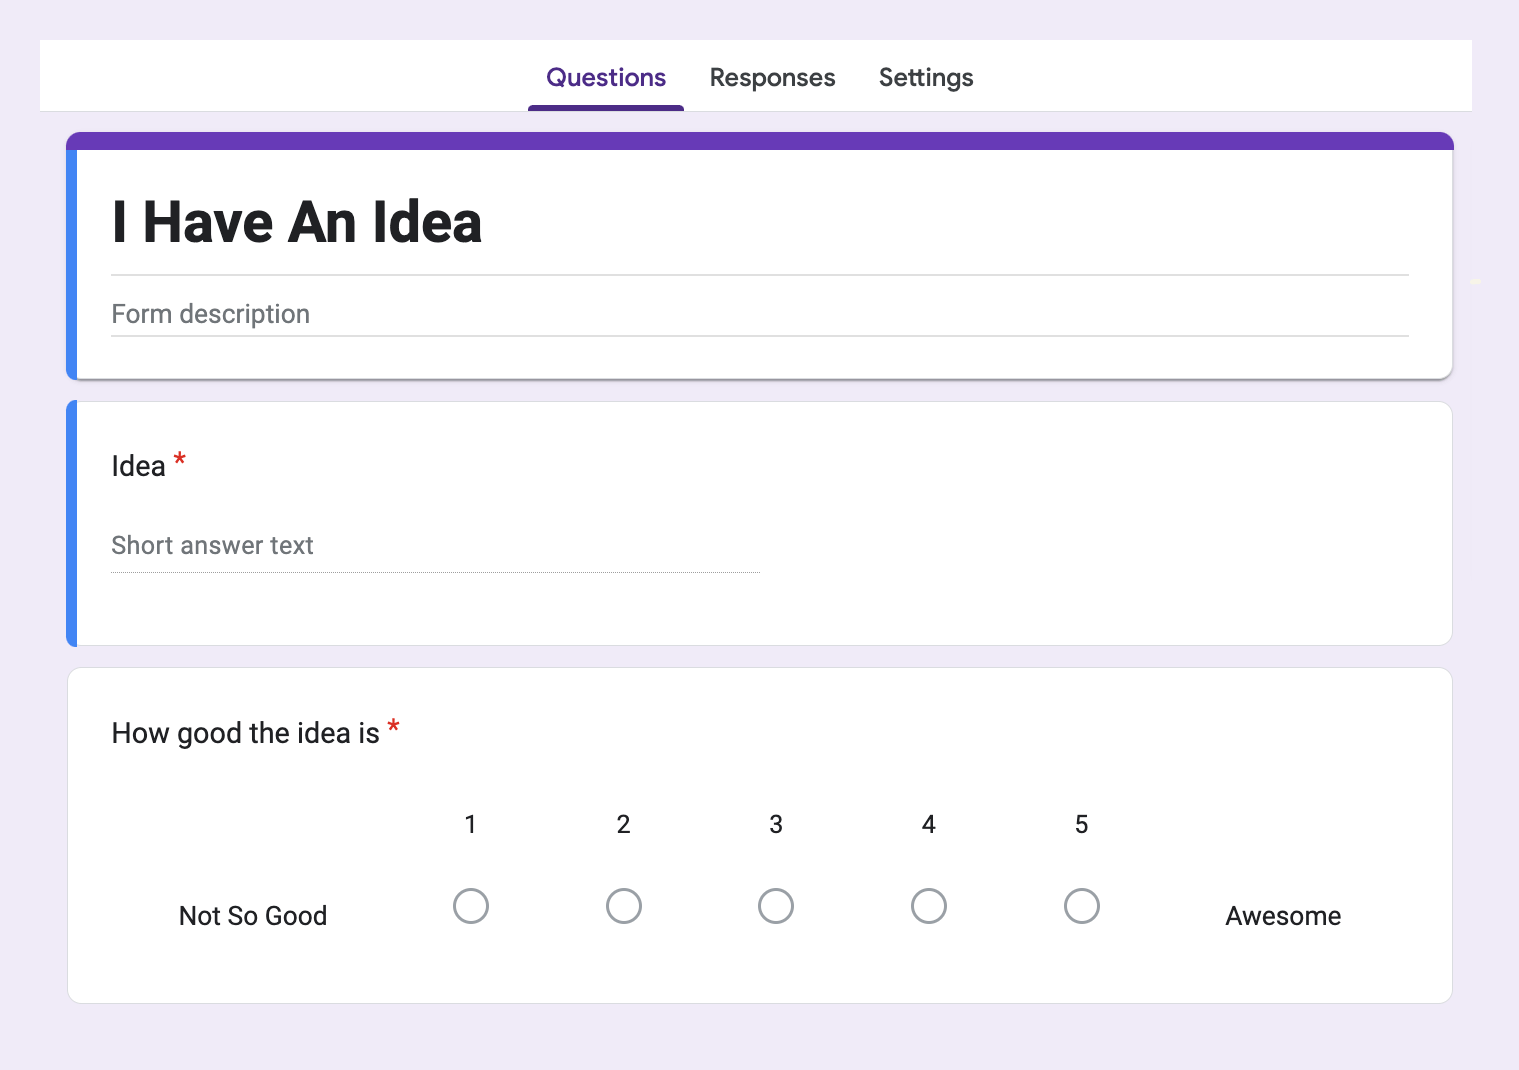 Form containing the questions to be filled in by the Shortcuts workflow.
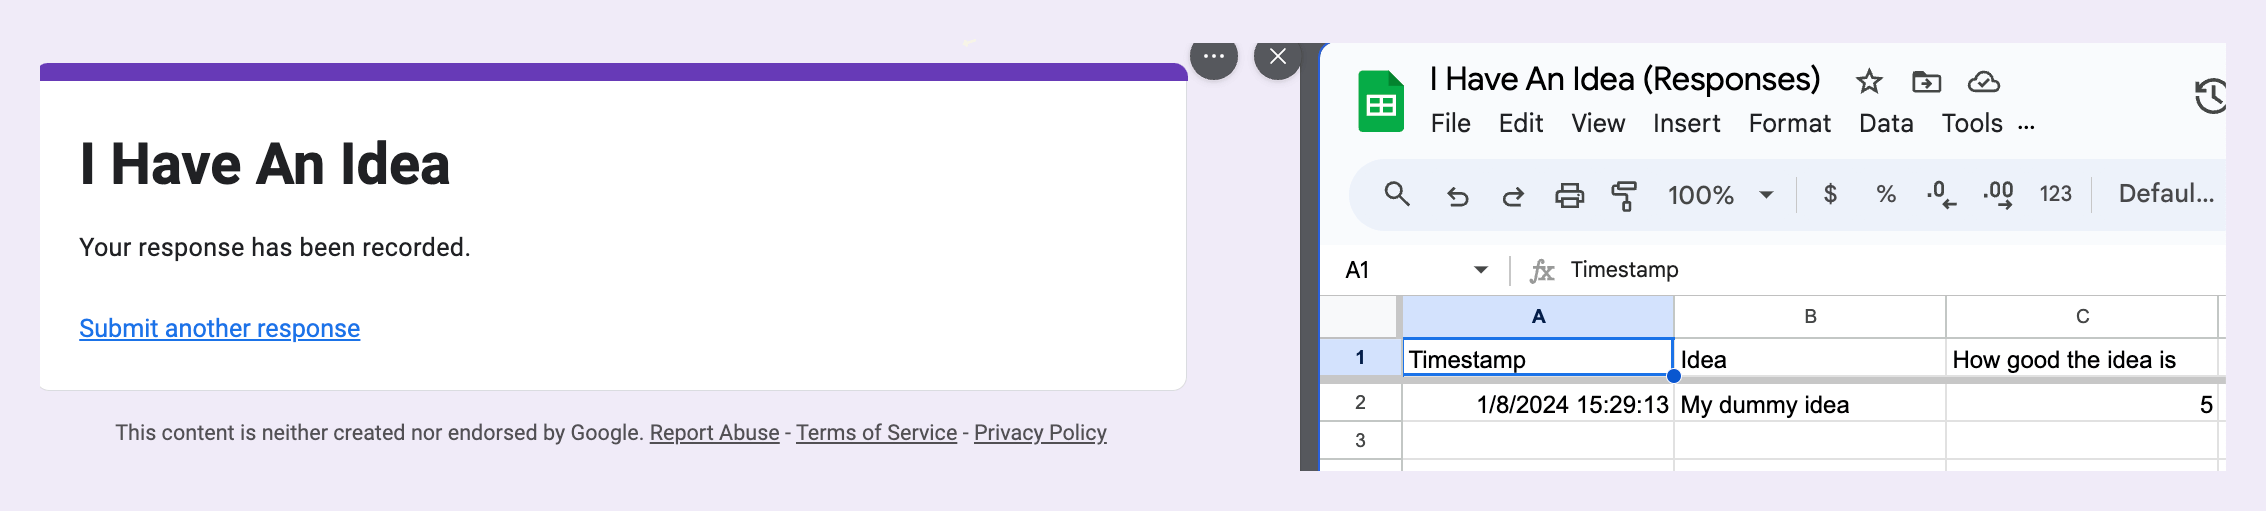
To ensure that the answers are correctly written to Google Sheets, open the Responses tab and click on Link to Sheets. A popup window will appear, where you can select the desired spreadsheet’s name and then confirm your choice.
 How to create a spreadsheet for your form
After completing these steps, the Google Sheets app will open, displaying a new spreadsheet with a column for each question from your form.
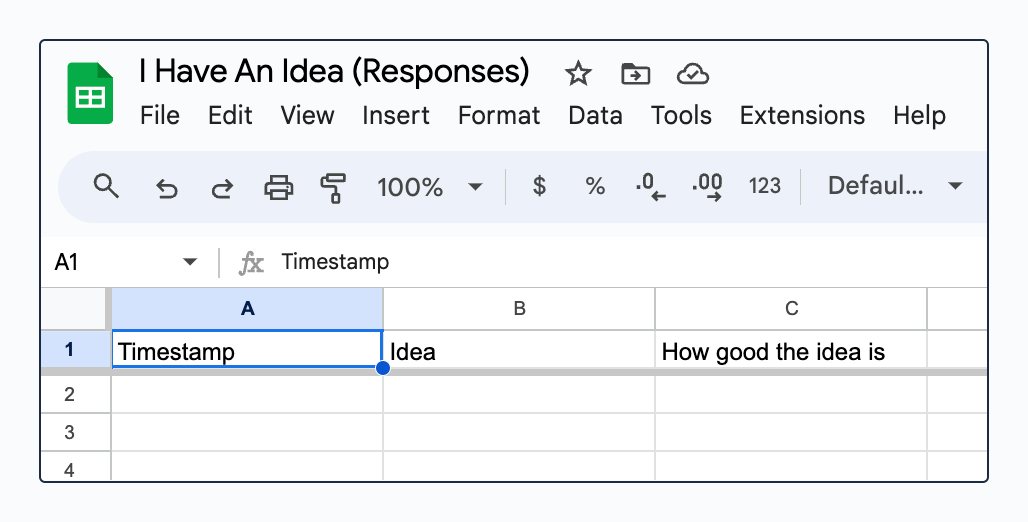 How the spreadsheet looks like.
2. Expose the Form’s URL Link
Now that the form and the spreadsheet are set up, the next step is to generate the link used for sending responses to the form.
Return to Google Forms and click on the three dots in the top-right corner to open a popup. Then, select Get pre-filled link.
This action will open a new tab. In this tab, enter some dummy data in the fields, and then click on Get link.
 Steps to generate and copy a pre-filled link.
The link you’ve copied will resemble the structure shown below.
 The sections of a pre-filled link.
Before we can use this link in the Shortcuts workflow, we need to make two small changes.
1. Replace viewform by formResponse
2. Add &submit=Submit at the end of the URL
By making these changes, your URL will automatically add a new form response when accessed. My URL now looks like this:
https://docs.google.com/forms/d/e/1FAIpQLSdJE5Hvc8b_rZloKiXxNMKBvOIZ1LraqYCZ54Lr5UF2AMnatg/formResponse?usp=pp_url&entry.1008307062=My+dummy+idea&entry.1273040662=5&submit=Submit
If you open the link now, you should see a page displaying the message Your response has been recorded. Additionally, you will find a new entry in the spreadsheet.
 The result after a new idea is added.
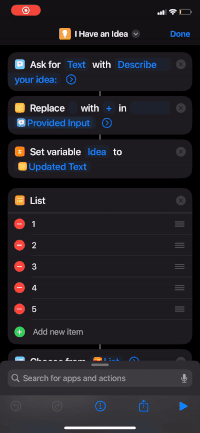
3. Creating the Shortcuts workflow
The image below illustrates how to create a Shortcuts workflow that prompts the user for inputs and then calls the URL with these inputs to add a new response to the form.
If you’re interested in cloning this shortcut, you can find it available on iCloud.
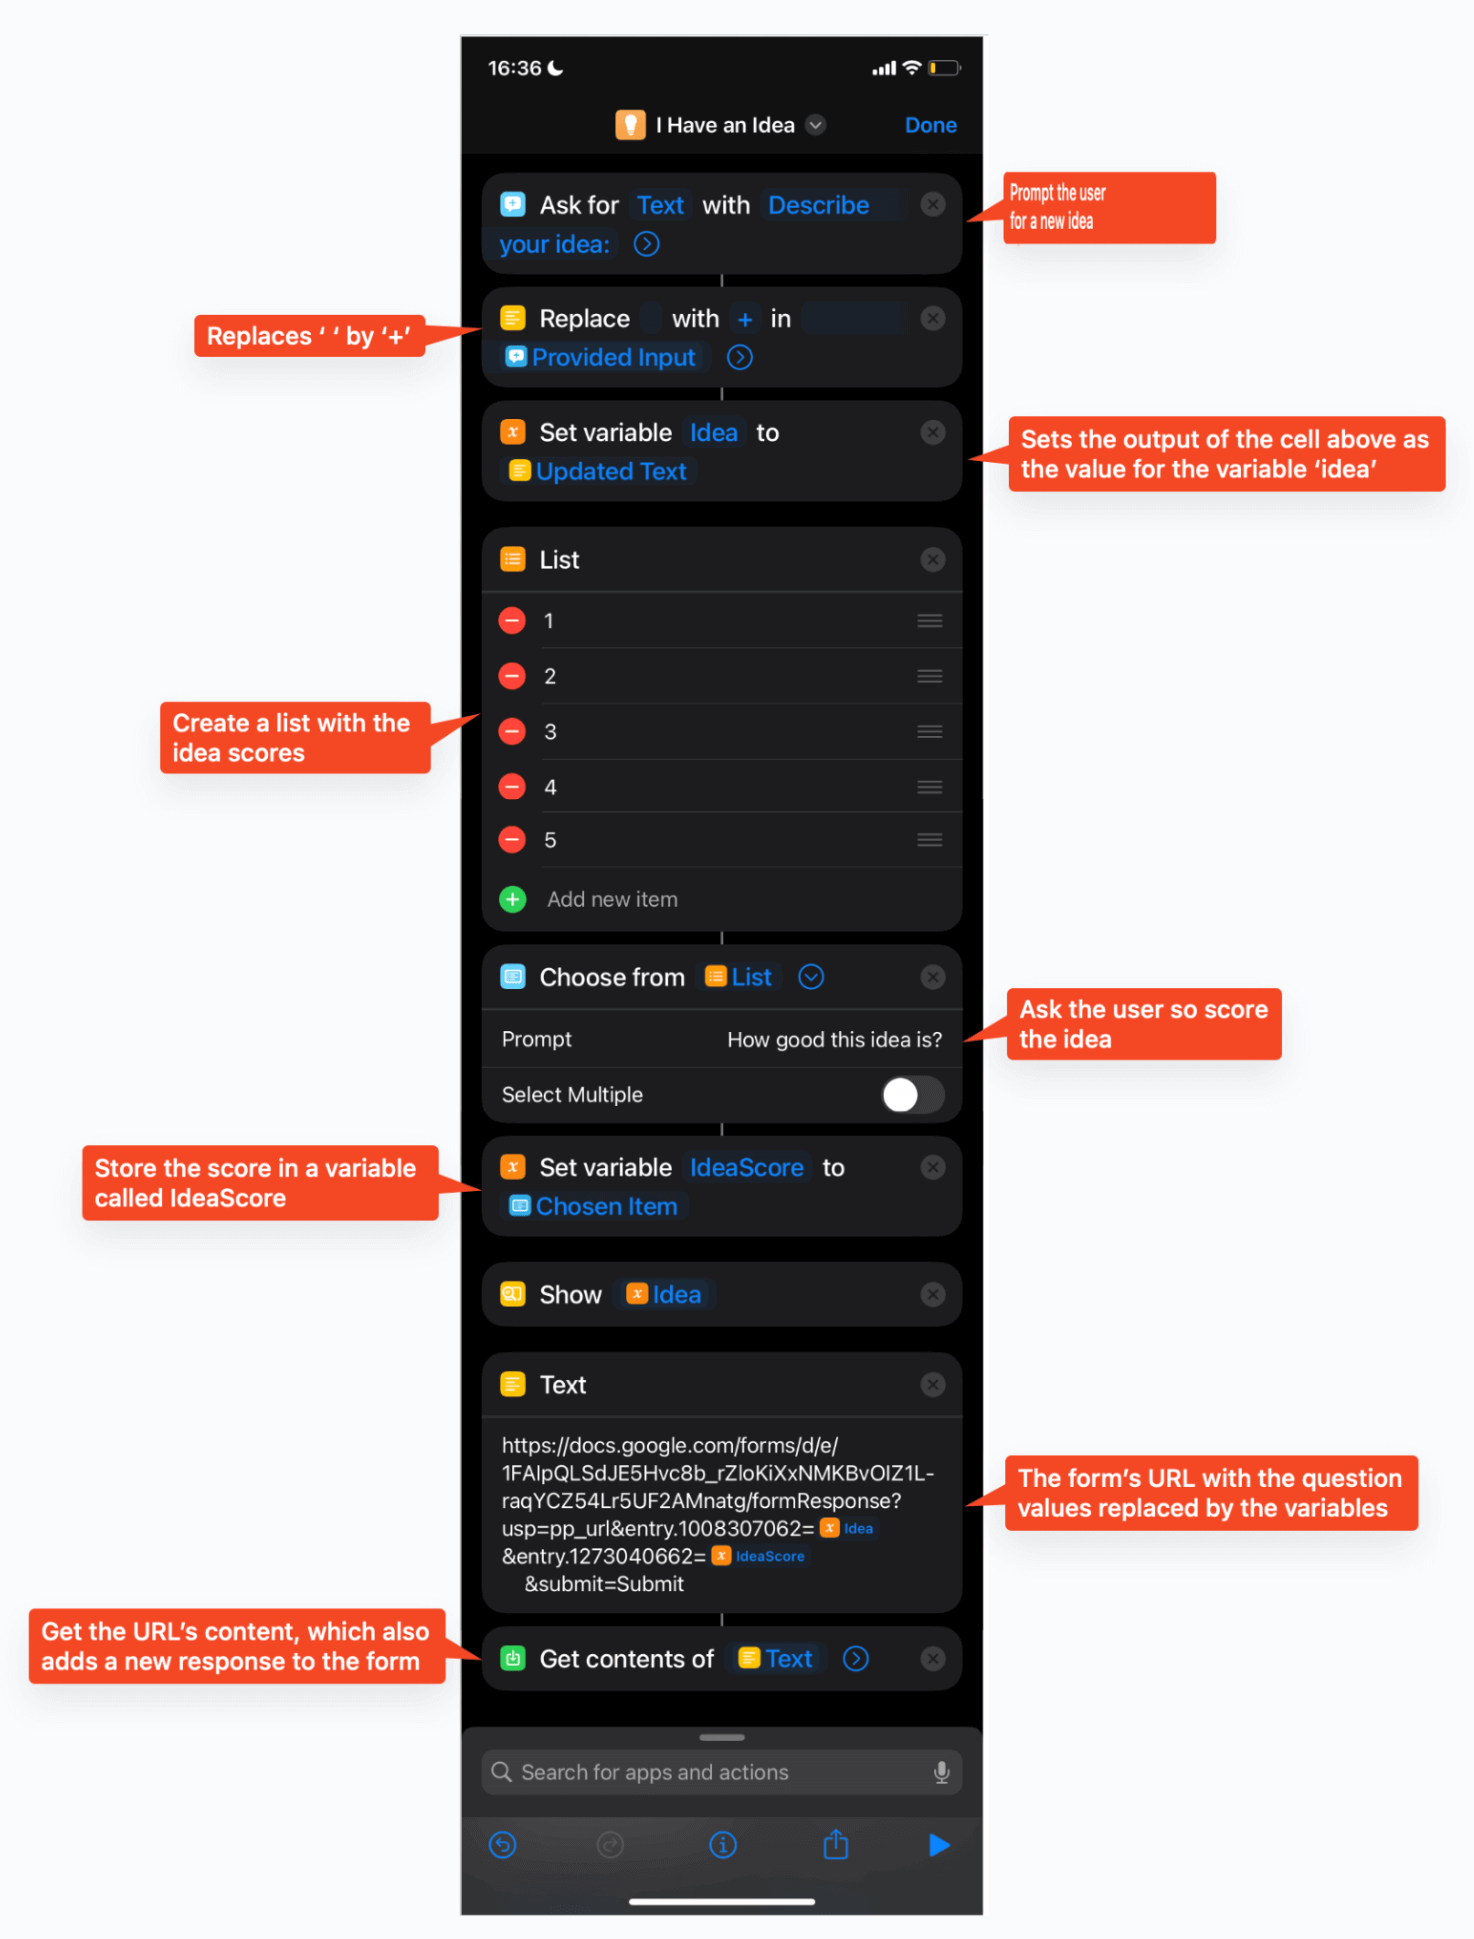 Full workflow with all the steps.
4. Testing the workflow
The gif below shows how the workflow behaves when executed. The first time it runs, it will ask for the user’s idea and the idea’s score. Then, it will call the URL with these inputs, adding a new response to the form.
 The result after a new idea is added.
Before concluding I must mention that anyone with access to the URL of your form will be able to add new rows to the spreadsheet. This could be a problem if you’re planning on using this workflow in a production environment.
References
senatorforlife on Reddit
Conclusion
In this tutorial, we’ve combined the simplicity of Apple’s Shortcuts with the practicality of Google Sheets, using Google Forms as a bridge.
This method opens up a world of possibilities for both personal organization and professional data handling, and I hope you can find a good use for it.
And I also hope you’ve enjoyed this tutorial. See you in the next one 👋