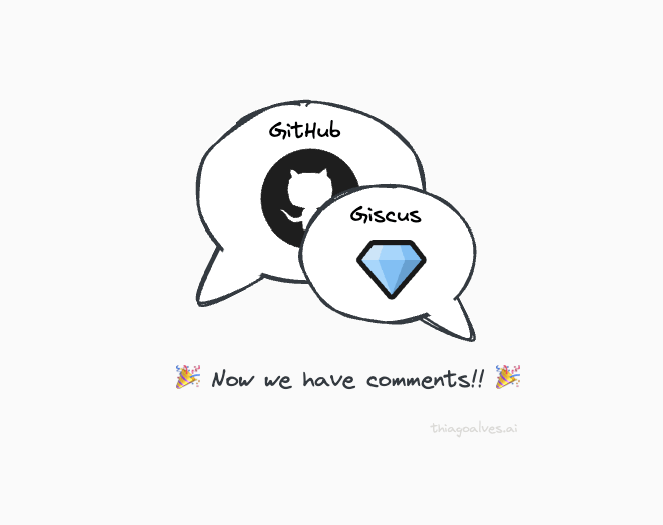

We finally have comments on this blog!
In this post, I’ll walk you through the steps I took to add comments to the blog using giscus. In the end, I’ll also show you how I made the comments change when I switch the theme.
The current theme I’m using has a built-in comments feature, but it only supports Disqus. I saw that many people use Disqus, but I didn’t feel comfortable using a tool that might sell my data, as well as my readers’ data, to third parties. Also, to remove the ads, I would have to pay a monthly fee. So, I decided to look for a free alternative.
Two solutions I found were utterances and giscus. The way they work is quite similar. They use GitHub Issues and GitHub Discussions to store the comments. I decided to use giscus because it has a better UI and it’s easier to customize.
Here is how I added and customized giscus to this blog.
Creating a repository for the comments
First, I created a new repository on GitHub to store the comments. I named it thiagoalves.ai-comments.
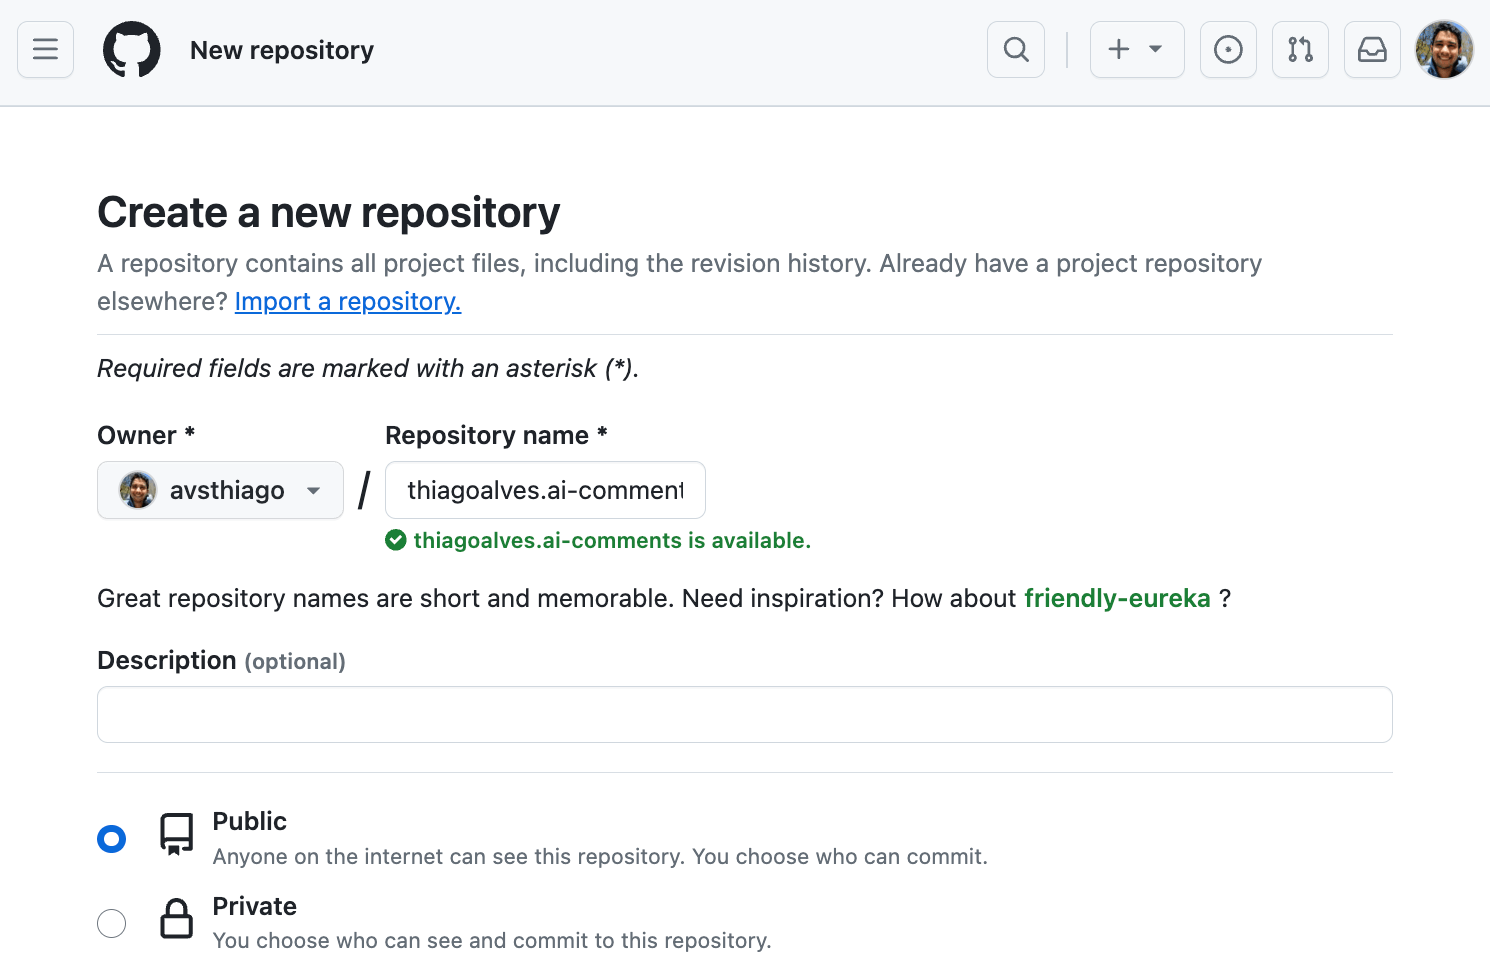 Creating a new repository on GitHub.
Then I activated the discussions feature on the repository settings.
 Activating the discussions feature.
Installing giscus
Installing giscus is quite simple. It can be split into two steps:
1. Install giscus on your repository
Giscus is a GitHub app that is available on the GitHub marketplace. To install it, you first need to go to its installation page. Once there, follow the steps below:
- Click on the
Installbutton. - Select the repository where you want to install Giscus. In my case, I selected the one I previously created: https://github.com/avsthiago/thiagoalves.ai-comments.
- Authorize the installation.
- That’s it!
With giscus installed on your repository, you can now add the giscus script to your website.
2. Add the giscus script to your website
The easiest way to add the giscus script to your website is by following the instructions on the giscus website. There, you can customize how the comments will appear. In the end, you will get a script like this:
<script src="https://giscus.app/client.js"
        data-repo="avsthiago/thiagoalves.ai-comments"
        data-repo-id="R_kgDdjdisoajdo"
        data-category="Announcements"
        data-category-id="DIC_kwDOLHt2SM4CclHx"
        data-mapping="pathname"
        data-strict="1"
        data-reactions-enabled="1"
        data-emit-metadata="0"
        data-input-position="top"
        data-theme="light"
        data-lang="en"
        crossorigin="anonymous"
        async>
</script>
I then added this script to the post.html file of my theme. For your theme, you might need to add it to a different file. To make it blend with the theme, I added a few divs and classes to the script. Here is how it looks:
<div class="container">
  <div class="row">
    <div class="col col-12">
      <script src="https://giscus.app/client.js"
        data-repo="avsthiago/thiagoalves.ai-comments"
        data-repo-id="R_kgDdjdisoajdo"
        data-category="Announcements"
        data-category-id="DIC_kwDOLHt2SM4CclHx"
        data-mapping="pathname"
        data-strict="1"
        data-reactions-enabled="1"
        data-emit-metadata="0"
        data-input-position="top"
        data-theme="test"
        data-lang="en"
        crossorigin="anonymous"
        async>
        </script>
    </div>
  </div>
</div>
After adding the script, I tested it by adding a comment to one of my posts, and it worked! A new discussion was created on my repository automatically and the comment was added to it.
Custom code to work with theme switcher
One issue I encountered was the comments not adapting to the theme switcher.
As you can see in the top right corner of this blog, there’s a theme switcher. When I click on it, the theme changes from light to dark and vice-versa. I wanted the comments to change as well. However, giscus doesn’t have a built-in way to do that, so I had to write some custom code to make it work.
Since I’m not a web developer, I’m pretty sure there are better ways to do it. But this is what I came up with.
First, I added two new scripts to the post.html page. The first script reads the current theme from local storage and stores it in a theme variable. The second script dynamically changes the data-theme attribute of the giscus script based on the theme variable. Here is how it looks:
<script>
  var theme = localStorage.getItem('theme') == null ? 'light' : 'dark_dimmed';
</script>

<div class="container">
  ... giscus script here ...
</div>

<script>
  document.querySelector('script[src="https://giscus.app/client.js"]').setAttribute('data-theme', theme);
</script>
This change was enough to make the comments change when I switched the theme and refreshed the page. But I also wanted to change the theme of the comments when the user clicks on the theme switcher. To do that, I added a new function to the common.js file of my theme.
The new function, named setGiscusTheme, is invoked when the user clicks on the theme switcher, triggering the darkMode() function.
The setGiscusTheme function retrieves the iframe element containing the Giscus script and modifies its src attribute to incorporate the theme parameter. Then, the line iframe.src = url.toString(); triggers a reload of the iframe to apply the new theme.
  // Theme Switcher
  function darkMode() {
    if (html.classList.contains('dark-mode')) {
      html.classList.remove('dark-mode');
      localStorage.removeItem("theme");
      document.documentElement.removeAttribute("dark");
      setGiscusTheme('light');
    } else {
      html.classList.add('dark-mode');
      localStorage.setItem("theme", "dark");
      document.documentElement.setAttribute("dark", "");
      setGiscusTheme('dark_dimmed');
    }
  }

  // Set Theme giscus theme
  function setGiscusTheme(theme) {
    var iframe = document.querySelector('.giscus-frame');

    if (iframe) {
      var url = new URL(iframe.src);
      url.searchParams.set('theme', theme);
      iframe.src = url.toString();
    }
  }
And that’s it! The comments now adapt whenever I switch the theme. You can test this feature by clicking the theme switcher located in the top right corner (I hope it works for all the browsers 😁).
Conclusion
As you can see, adding comments to a Jekyll blog using giscus is quite simple. I’m really happy with the result. I hope you like it too!
If you have any questions or suggestions, (I can finally write that 😁) please leave a comment below. I would love to hear from you!