

Over the past five years, I’ve worn different hats, starting as a researcher during my Master’s, then as a data engineer and now as an MLOps engineer.
Throughout these roles, I’ve used Conda to manage my Python environments. I learned a lot along the way, the following list tries to summarize some of the lessons I learned.
1. Don’t Be Afraid to Delete Your Environment
A development environment should be something ephemeral. Unexpected things happen all the time, and accepting that at some point your environment will break will make the recreation less painful.
So, don’t treat your Conda environment as a pet. Be prepared to say goodbye to it at any moment. Embrace the idea of disposable environments and don’t be afraid to experiment.
2. Use Environment YAML Files
Now that you’re mentally prepared to rebuild your environment at any moment, let’s make it practical.
Conda’s YAML files are not just backups; they’re blueprints for sharing and reproducibility. Create one, and you’ve got a replicable, version-controlled environment (if you pin the module versions, of course 😉).
You can find more information about how to create YAML definitions of environments here.
To create conda environments reproducible across different platforms I suggest looking into the project conda-lock.
3. Speed Up The Installation Process with Mamba
The classic Conda solver can be sluggish. It’s not uncommon to wait for minutes or even hours for a new package to install. Luckily, there’s a faster alternative. Mamba, a fast, C++-based drop-in replacement originally developed by the QuantStack team.
Installing Mamba is straightforward. The way I usually do it is by running:
conda install mamba -n base -c conda-forge
Once installed, Mamba can be used in place of Conda for installing packages with the command:
mamba install <package>
But I recently learned that QuantStack worked with Quantsight and Anaconda to develop conda-libmamba-solver (source: A Faster Solver for Conda: Libmamba). This new plugin makes the mamba solver part of the conda ecosystem.
Assuming you are using Conda 22.11 or later, you can install the new solver with the following commands (source: conda-is-fast-now):
conda install -n base conda-libmamba-solver
conda config --set solver libmamba
According to Anaconda, you should expect a 50-80% performance improvement when using the new solver.
4. Choose Miniconda Over Anaconda
I know, I know. Anaconda is an extremely popular distribution of Python in the data science world. But hear me out. Most users don’t need the full suite of Anaconda tools (e.g. the GUI).
An alternative for that is to use Miniconda, a minimal installer for Conda. It’s just Conda and its dependencies, nothing more. You can install the packages you need when you need them.
And it is not only me who thinks that way. The official Conda documentation also suggests using Miniconda over Anaconda.
5. Clean Your Conda Cache Regularly
Conda’s cache can grow to gargantuan proportions. Familiarize yourself with the conda clean command. I use conda clean -a regularly to remove the old packages. But be aware that this command will remove all the cached packages and indices.
If you want to remove unused packages, tarballs, or cached indices individually, then you can use the other flags available in the command.
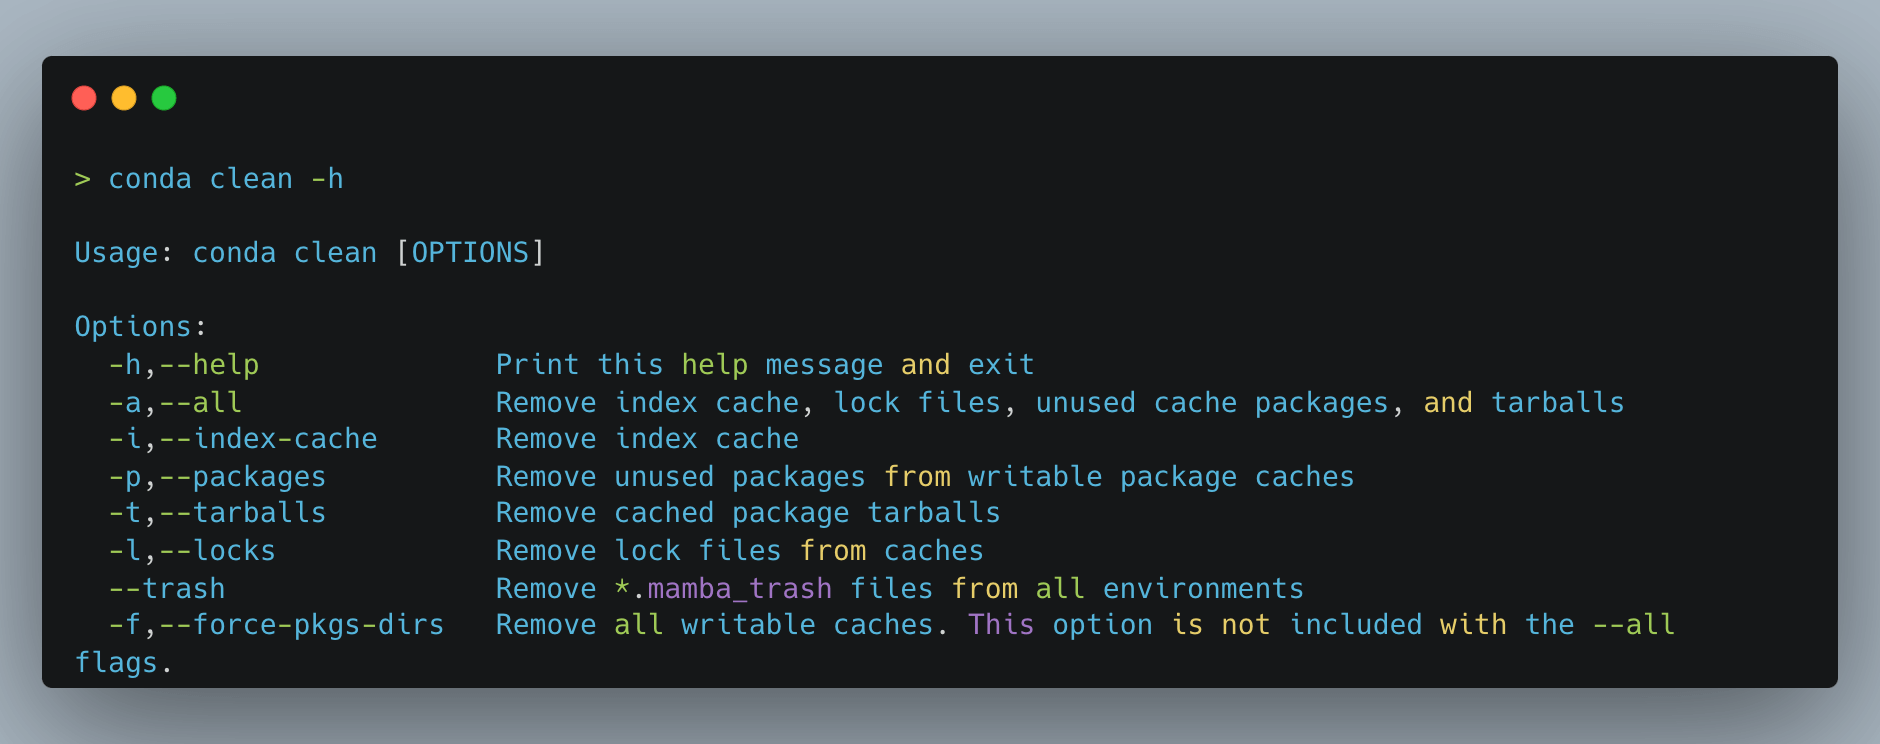 Conda clean command help options.
Bonus Round:
5.1. Rollback with Ease
By running conda list --revisions from within your environment you will see all the changes applied to your environment (⚠️ pip installations are not tracked).
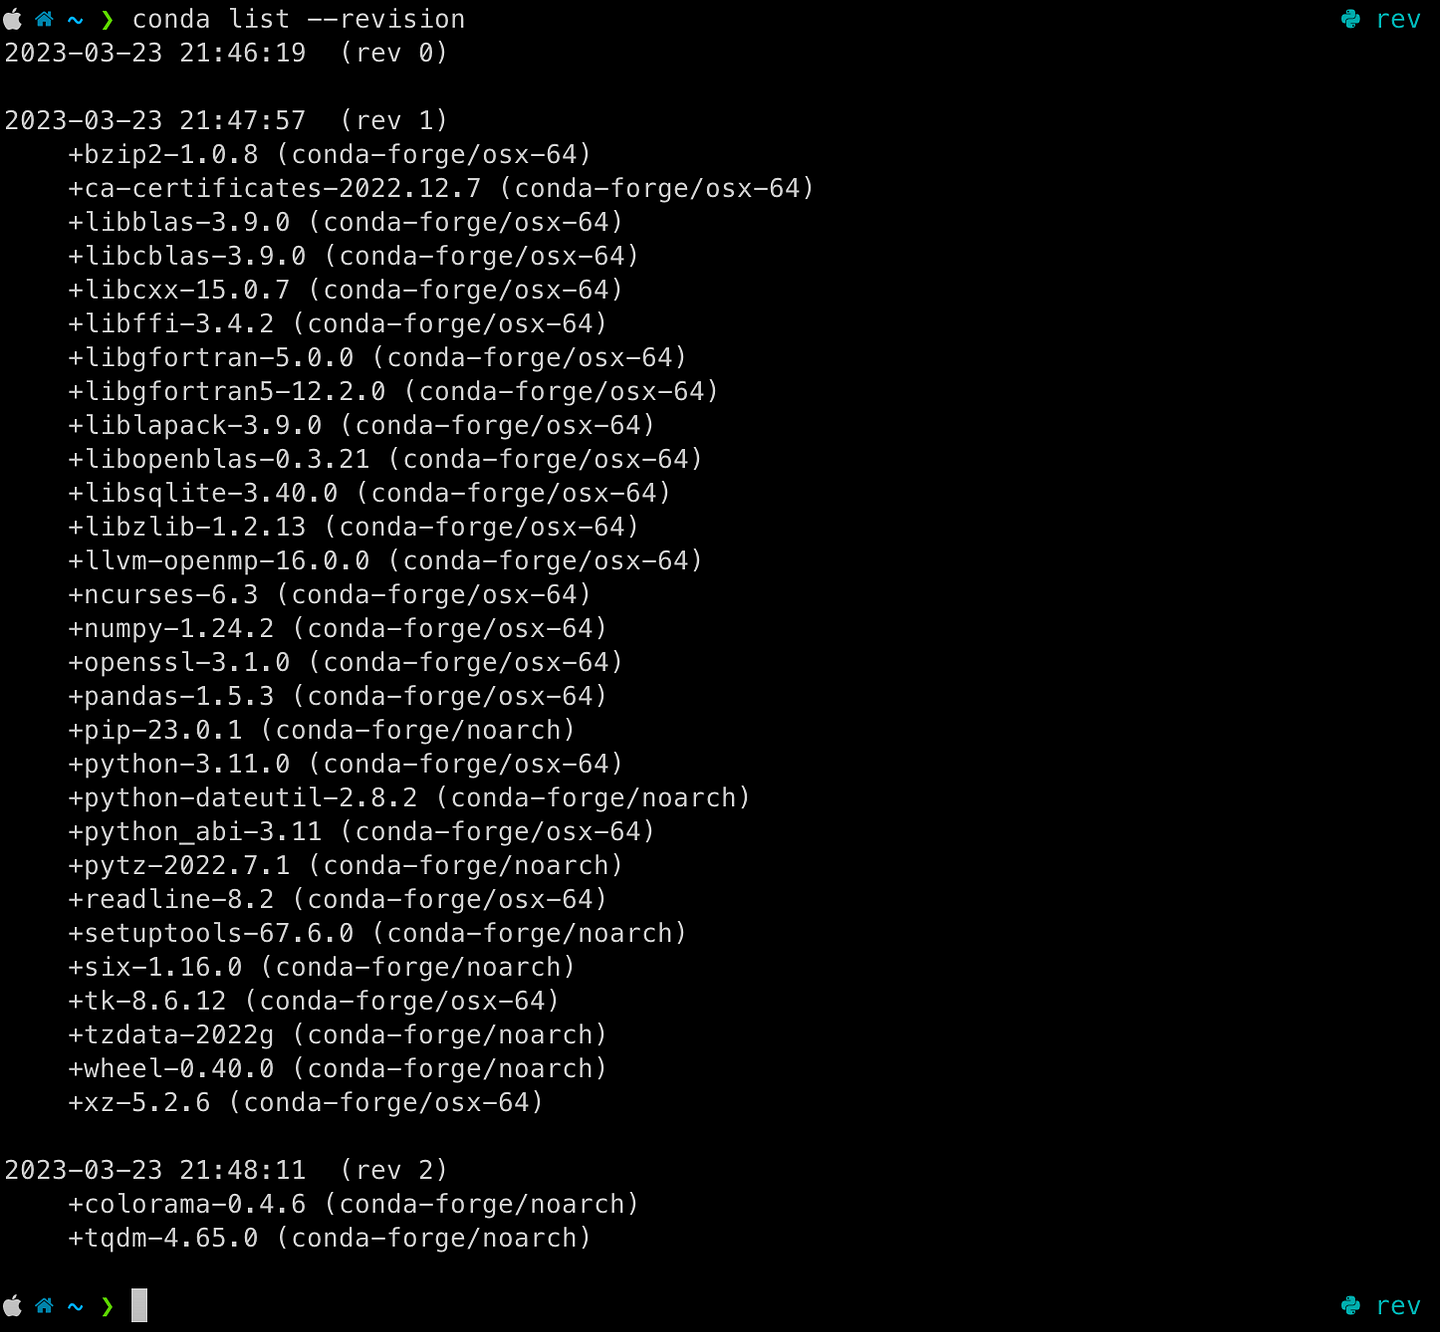 Conda revisions.
To rollback to a previous state, you can use:
conda install --revision <revision_number>
This is a handy feature when you need to revert to a previous state of your environment.
5.2. Activation/deactivation scripts
Conda can run specific scripts whenever you activate or deactivate an environment. This means you can set up your shell environment, tweak variables, or perform pre/post actions automatically.
You can add scripts to the following directories:
path_to_your_environment/etc/conda/activate.d
path_to_your_environment/conda/deactivate.d
The scripts in the activate.d directory will be executed when you activate the environment, and the scripts in the deactivate.d directory will be executed when you deactivate the environment.
You can find more information about this feature here.
Conclusion
And that’s a wrap! I hope these tips help you to get the most out of Conda.
If I missed any tips, or if you have any questions, feel to ask in the comments below. I’d love to hear from you! See you in the next post 🚀


