
When I was learning Computer Vision at the university, I used to build small applications to process camera feeds in real-time. For those applications we often used OpenCV to process the images and HighGUI (OpenCV’s GUI library) to display the results.
The image below shows a simple example of how to stream a camera feed using OpenCV and HighGUI.
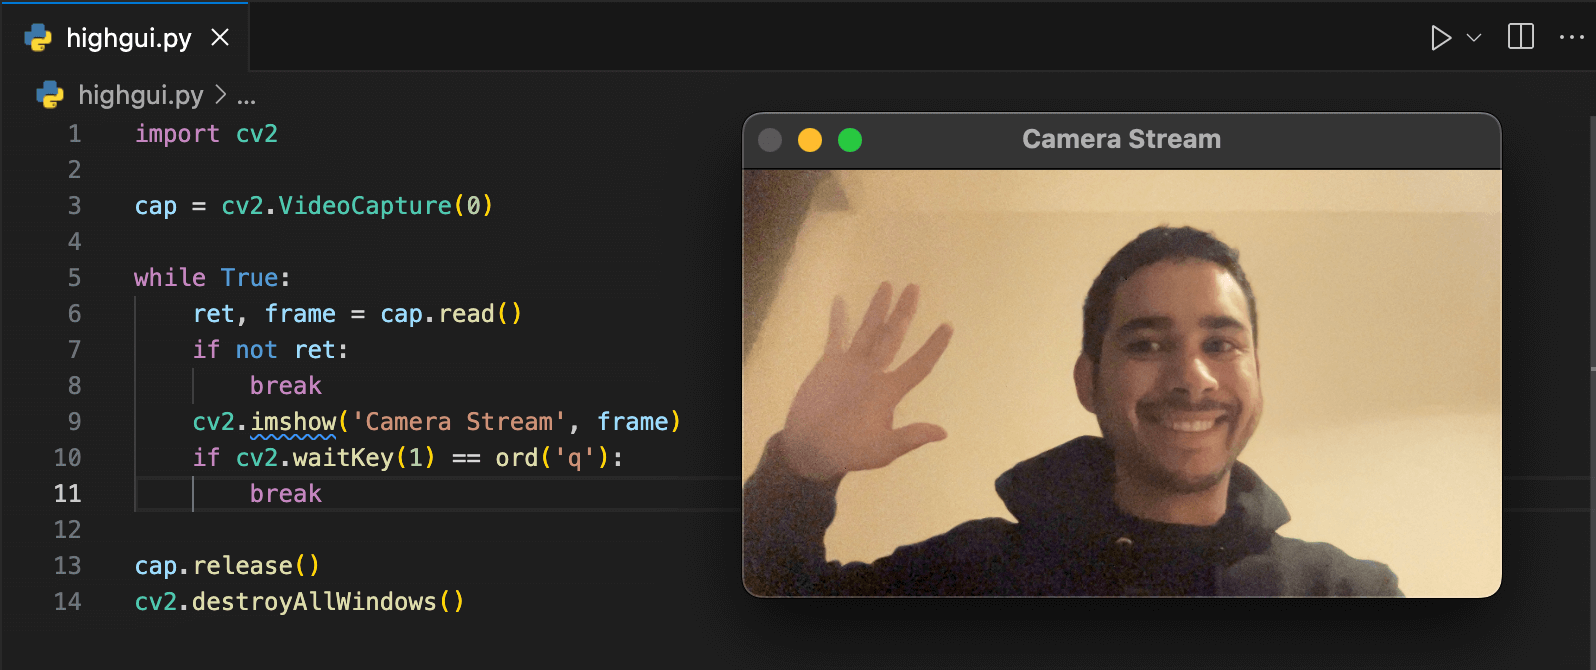 A simple webcam streaming application using OpenCV and HighGUI.
Code...
import cv2

cap = cv2.VideoCapture(0)

while True:
    ret, frame = cap.read()
    if not ret:
        break
    cv2.imshow('Camera Stream', frame)
    if cv2.waitKey(1) == ord('q'):
        break

cap.release()
cv2.destroyAllWindows()
However, HighGUI is not very user-friendly and it’s not easy to customize the interface. Since I decided to learn Streamlit recently, I thought it would be a good idea to try to build a similar application to the one we built in the university, but now combining Streamlit and OpenCV.
By default, Streamlit has only st.camera_input, used to capture images from the webcam. However, I wanted to build an application that could process and display the camera feed in real-time.
After some research, I found out two components made by the community that could help me build the application I wanted: streamlit-camera-input-live and streamlit_webrtc.
During some experiments, I noticed that streamlit-camera-input-live was noticeably slower than streamlit_webrtc. So, I decided to use streamlit_webrtc to build the application.
With no further ado, let’s see how I built the application.
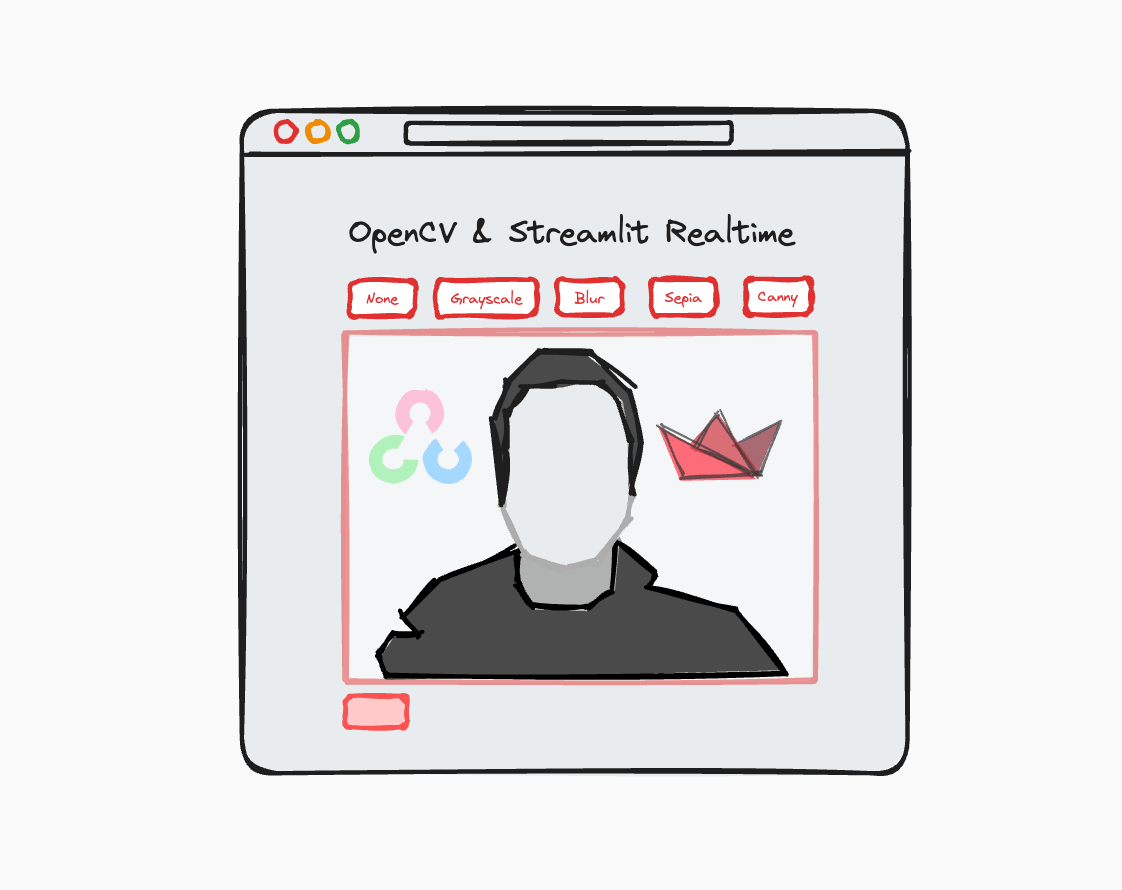
How the application looks
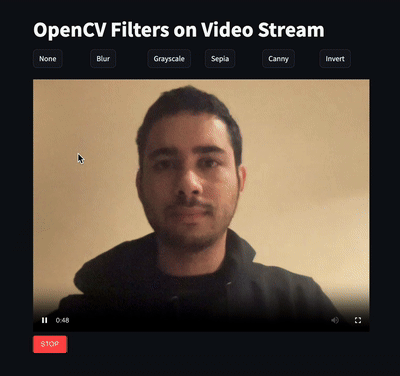
The application itself is quite simple. It has a video player that shows the camera feed, and a few buttons to control which filters are applied to the video. The image below shows the final result.
Show me the code!
To create this application, I used the following requirements.txt file.
streamlit>=1.30
streamlit-webrtc>=0.47
opencv-python>=4.9
numpy>=1.26
To install the modules in your environment, you can use:
pip install -r requirements.txt
Now let’s dive into the implementation in three steps.
Step 1. Streaming the camera feed to streamlit
This first snippet shows how to stream the camera feed to Streamlit using streamlit_webrtc. The sendback_audio parameter is set to False because we don’t need audio in this application. By setting it to True, you would also hear the audio in the application.
import streamlit as st
from streamlit_webrtc import webrtc_streamer

st.title("OpenCV Filters on Video Stream")

webrtc_streamer(key="streamer", sendback_audio=False)
To run this code, you can use the following command in your terminal (assuming the code is in a file called app.py):
streamlit run app.py
Step 2. Creating buttons to control the filters
Now we can add buttons to control the filters. To make them look nice, I used the st.columns function to create a grid of buttons and put each filter in a different column (or cell).
At this point, the filters are not implemented yet, but every time you click a button, the filter variable will be updated with the name of the filter you clicked.
import streamlit as st
from streamlit_webrtc import webrtc_streamer

st.title("OpenCV Filters on Video Stream")

filter = "none"

col1, col2, col3, col4, col5, col6 = st.columns([1, 1, 1, 1, 1, 1])

with col1:
    if st.button("None"):
        filter = "none"
with col2:
    if st.button("Blur"):
        filter = "blur"
with col3:
    if st.button("Grayscale"):
        filter = "grayscale"
with col4:
    if st.button("Sepia"):
        filter = "sepia"
with col5:
    if st.button("Canny"):
        filter = "canny"
with col6:
    if st.button("Invert"):
        filter = "invert"

webrtc_streamer(key="streamer", sendback_audio=False)
Step 3. Applying the filters
In the last step, we need to apply the filters to the video stream. To do that, we will use the computer vision module OpenCV and the auxiliary modules numpy and av.
The transform function is responsible for applying the filters to the video stream. We use the argument video_frame_callback to tell webrtc_streamer to use this function to process the video frames. By doing that, webrtc_streamer will call the transform function every time a new frame is available.
The transform function receives a frame from the video stream and based on which filter is selected, it applies the corresponding filter to the frame. If you want to learn more about the filters, you can check some references below:
The final code looks like this:
import cv2
import streamlit as st
from streamlit_webrtc import webrtc_streamer, VideoHTMLAttributes
import numpy as np
import av

st.title("OpenCV Filters on Video Stream")

filter = "none"


def transform(frame: av.VideoFrame):
    img = frame.to_ndarray(format="bgr24")

    if filter == "blur":
        img = cv2.GaussianBlur(img, (21, 21), 0)
    elif filter == "canny":
        img = cv2.cvtColor(cv2.Canny(img, 100, 200), cv2.COLOR_GRAY2BGR)
    elif filter == "grayscale":
        # We convert the image twice because the first conversion returns a 2D array.
        # the second conversion turns it back to a 3D array.
        img = cv2.cvtColor(cv2.cvtColor(img, cv2.COLOR_BGR2GRAY), cv2.COLOR_GRAY2BGR)
    elif filter == "sepia":
        kernel = np.array(
            [[0.272, 0.534, 0.131], [0.349, 0.686, 0.168], [0.393, 0.769, 0.189]]
        )
        img = cv2.transform(img, kernel)
    elif filter == "invert":
        img = cv2.bitwise_not(img)
    elif filter == "none":
        pass

    return av.VideoFrame.from_ndarray(img, format="bgr24")


col1, col2, col3, col4, col5, col6 = st.columns([1, 1, 1, 1, 1, 1])

with col1:
    if st.button("None"):
        filter = "none"
with col2:
    if st.button("Blur"):
        filter = "blur"
with col3:
    if st.button("Grayscale"):
        filter = "grayscale"
with col4:
    if st.button("Sepia"):
        filter = "sepia"
with col5:
    if st.button("Canny"):
        filter = "canny"
with col6:
    if st.button("Invert"):
        filter = "invert"


webrtc_streamer(
    key="streamer",
    video_frame_callback=transform,
    sendback_audio=False
    )
Conclusion
In this post, I showed you how to build a simple webcam streaming application using Streamlit and OpenCV. I hope you enjoyed it and that you can use this application as a starting point to build your own streaming applications.
If you have any questions or suggestions, feel free to leave a comment below. See you in the next post! 👋


